Buildserver Setup Instructions
This page holds the instructions of setting up your very own instance of the embEDUx buildserver. For advanced users, these instructions may be considered mere suggestions. We'd be happy to receive suggestions and feedback about this!
Requirements
- Adminstation setup completed - If you haven't already setup your Adminstation, please follow these instructions.
Buildserver Machine Requirements
Hardware
| HW-Component | Requirement |
|---|---|
| CPU | x86_64 multicore - the more cores the better ;) |
| RAM | 1GB per supported target architecture |
| Storage | 10GB for initial full builds - min. 20GB suggested |
| Connectivity | Initial downloads of ~800-1000MiB |
Software
Tested Operating Systems
The machines must have a recent distribution of Linux installed. Currently the setup routine supports Ubuntu Linux 14.04 Ubuntu Linux 14.10 * Gentoo Linux with a Docker compatible Kernel Configuration
Other Linux Distributions might work too if they use apt or portage as their package manager. Please share your experiences!
Installed Packages
Please make sure that these packages are installed and properly setup on the buildserver machine.
- SSH Server - the setup routine controls the buildserver via SSH
User Permissions
You either need root-access on the buildserver, or a user that has permissions to run arbitrary commands with sudo.
- Allow SSH access via key authentication - the setup routine and the instructions on the page assume that you are using key-based authentication for the user you chose in the host details.
Suggestions
- Understand the Implementation Details
Configure the hosts details
After cd-ing into the buildserver-setuproutine directory, please set the
host's address and the SSH login.
$ $EDITOR host_vars/master
- host address - Change the value of the variable ansible_ssh_host to the address of the machine where you want to have the buildserver running on.
- SSH Login Username - Change the value of ansible_ssh_user to either root or to a user that can use sudo. This is necessary for the installation of dependencies, and in case you have apparmor installed, set it to complain mode for docker before the container builds are started.
Creating the password vault
Authentication details that will be used between the buildserver components and
for accessing the web-interface will be stored in a so called vault file. It
takes only a few steps to created the vault using the ansible-vault-utility.
- Starting in the buildserver-setuproutine repository directory, the password
file can be created using the
ansible-vaultutility.
$ cd ${BULDSERVER-SETUP-REPO}
$ ansible-vault create group_vars/vault.yml
-
Either $EDITOR or vim as fallback will open and present you with an empty file. Now create a simple YAML variable named buildbot_psk and assign it your desired password. In addition, create a YAML dictionary called users, which contains a user: password mapping for allowed logins on the buildmaster's webinterface. Here's an example:
--- buildbot_psk: your_secret_psk users: embedux: embedux -
Save and exit the file. Excellent!
You can come back and make changes to the vault file at any time using the following command.
$ ansible-vault edit group_vars/vault.yml
Install the dependencies and the buildserver components
The next step is to install the needed dependencies on the configured hosts. Once the dependencies were installed the actual buildserver infrastructure is ready to be installed. The buildserver.yml playbook will take care of both. Depending on your configured architectures and the speed of your internet connection and system components, this might take a couple of hours.
$ ansible-playbook -i hosts buildserver.yml --ask-sudo-pass --ask-vault-pass -e @group_vars/vault.yml --tags all
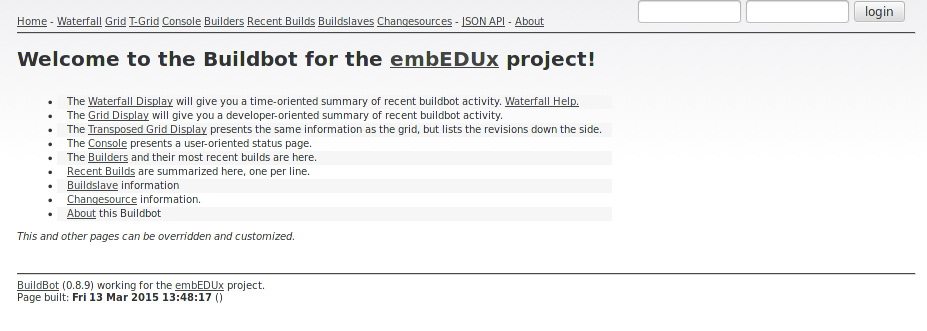
Check the Web-Interface
After the installation has completed, you should be able to reach the Webinterface at http://<buildserver-IP>:8010. Additionally, you should be able to login with the user-password combinations you've stored in the vault file.